How to Assess the Authenticity of a Mineral
Learn how to assess the authenticity of a mineral with collector-grade checks for luster, habit, hardness, provenance, repairs, and seller documentation.
A specimen can look convincing in a sales photo and still raise red flags the moment it is in hand. For collectors, knowing how to assess the authenticity of a mineral is less about one dramatic test and more about reading a specimen the way a curator would - as an object with mineralogical, visual, and documentary evidence that should agree.
That distinction matters because "authentic" can mean several different things. A specimen may be a genuine mineral species but mislabeled by locality. It may be natural but repaired. It may be a real crystal group with an artificial coating, glued matrix, or altered color. Collector-grade evaluation starts by separating those categories rather than treating authenticity as a simple yes-or-no question.
What authenticity means in mineral collecting
In practice, collectors usually test four claims at once:
- the species identification is correct
- the specimen is natural, not synthetic or fabricated
- the locality data is plausible and accurately attached to that piece
- the condition is honestly represented, including repairs or restoration
A specimen can pass one level and fail another. Natural quartz is common, but a quartz piece represented as Herkimer diamond from a specific pocket is making a more precise claim. Likewise, a fluorite crystal may be genuine fluorite while its surface color has been artificially enhanced. Good evaluation depends on matching the level of scrutiny to the level of the claim.
How to assess mineral authenticity before you buy
If you are evaluating a specimen from photos, start with consistency. The crystal habit, luster, transparency, matrix relationship, and damage pattern should belong together. When one element looks visually disconnected from the others, that is often where closer inspection begins.
Read the specimen visually, not just the label
Collector-grade review usually starts with morphology. Ask whether the crystal form matches the stated species and whether the aggregate style is typical for that mineral and locality. Cubic fluorite, prismatic tourmaline, bladed barite, botryoidal malachite - these are broad expectations, not guarantees, but strong departures require explanation.
Then look at surface quality. Natural faces usually show a coherent combination of growth features, minor contacts, edge wear, and luster variation. Fabricated or heavily altered pieces often look too uniform in the wrong way. A suspicious surface may appear glassy where it should be satin-like, overly bright in recesses, or strangely fresh along a repaired break.
Check color with caution
Color is useful, but it is one of the easiest features to overtrust. Many species occur in broad color ranges, and lighting can push photos toward warmer or cooler tones. At the same time, unnatural enhancement is common enough that color alone should never carry the identification.
Look instead for how color is distributed. Natural zoning often follows crystal geometry or growth sectors. Artificial dyeing and coatings tend to settle in cracks, pits, or along uneven surfaces. If a vivid tone stops abruptly at a fracture or appears strongest in porous areas, caution is reasonable.
Use hardness and streak carefully
For in-hand examination, hardness can help narrow possibilities, but destructive testing is rarely appropriate for a collectible specimen. The same applies to streak. These are identification tools, not first-line methods for evaluating a display-worthy piece.
A better approach is to use non-invasive clues first: heft, cleavage, transparency, crystal form, fluorescence where relevant, and magnified surface observation. Reserve contact tests for low-risk situations and only when the value of the answer outweighs the cost of possible damage.
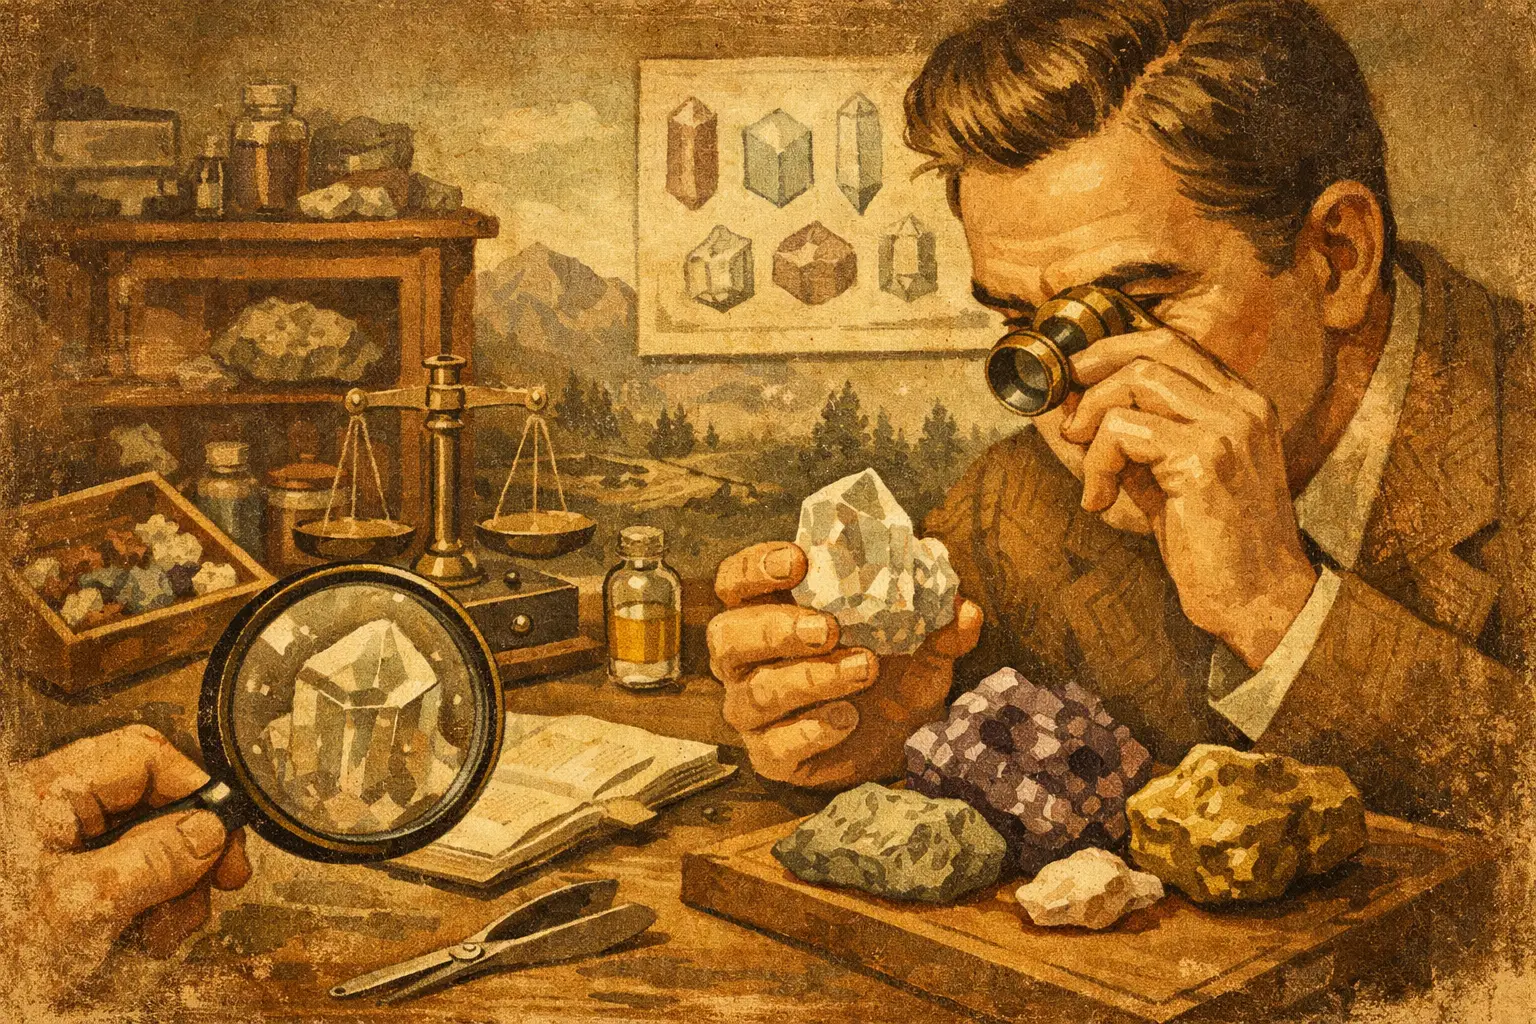
How to assess the authenticity of a mineral under magnification
Magnification is where many uncertain specimens become easier to read. Even a basic loupe can reveal evidence that standard photos hide.
Under magnification, pay attention to:
- glue lines at crystal contacts or matrix joins
- filler material inside fractures or cavities
- polishing marks on faces that should be naturally grown
- color concentrated in cracks, pits, or porous zones
- surface coatings with a different luster than the host mineral
- broken edges that look fresher than surrounding surfaces
Repairs are not automatically disqualifying. In high-end collecting, some restorations are accepted if they are disclosed and professionally done. The problem is not the existence of a repair. The problem is undisclosed intervention presented as untouched condition.
This is also where photography quality matters. Sellers who provide macro images, multiple angles, and consistent lighting make evaluation easier because they reduce ambiguity. A specimen documented like an archive object is easier to trust than one shown in a single dramatic image with heavy contrast.
Provenance is part of authenticity
Collectors sometimes focus so heavily on the mineral itself that they treat paperwork as secondary. In reality, provenance is one of the strongest authenticity signals available.
A good provenance trail may include an old label, a prior collection reference, dealer history, collection date, mine level or pocket information, and continuity between past and current documentation. None of these alone proves authenticity, but together they create context that is difficult to fake convincingly.
Questions worth asking about provenance
When a specimen is represented as notable, rare, or locality-sensitive, ask for specifics:
- When was it acquired, and from whom?
- Is there an original or historical label?
- Has the species been analytically confirmed?
- Does the matrix and habit match known material from that locality?
- Has the piece been restored, stabilized, or reassembled?
A serious seller should be comfortable answering those questions in a direct way. Vague confidence is less useful than precise documentation.
Common warning signs collectors should not ignore
Some issues appear often enough that they deserve routine attention.
First, be cautious with combinations that seem designed to maximize visual appeal rather than mineralogical plausibility. Crystals improbably perched on matrix, dramatic color concentrated only where it photographs best, or species pairings uncommon for the locality all deserve closer review.
Second, examine damage logic. Natural and handling damage usually follow a believable pattern. If one area is heavily worn while neighboring delicate terminations are perfect, or if fresh fractures appear selectively hidden by camera angle, the presentation may be incomplete.
Third, compare the specimen against known examples. Not to copy blindly, but to calibrate. Advanced collectors build this habit over time by studying verified material from established localities. A digital collection record helps here because once you organize your own specimens by species, habit, locality, and acquisition history, inconsistencies become easier to spot in future purchases.
When laboratory confirmation makes sense
Not every specimen needs analytical work. For many common species, visual and contextual evaluation is enough. But there are cases where Raman, XRD, UV response comparison, or other testing is justified.
Consider formal identification when:
- the species is high value and visually similar to others
- the locality claim significantly affects value
- synthetic or treated material is common in that category
- the specimen is entering a research, museum, or high-level reference collection
This is an area where trade-offs matter. Analytical certainty is valuable, but it costs time and money, and it may not be necessary for every acquisition. The right standard depends on whether you are buying for casual study, display, or a rigorously documented collection.
A practical collector workflow
The most reliable method is a layered one. Start with the seller's documentation, then examine morphology, then magnified surface evidence, then provenance, and finally decide whether additional testing is warranted. That sequence avoids the common mistake of overreacting to one feature while ignoring the broader evidence set.
A useful collector record for each specimen should include species, variety if applicable, locality, dimensions, weight, acquisition source, date acquired, price, condition notes, and any disclosure about repair or treatment. If doubts arise later, that record becomes part of the authenticity trail. Cabinet No. 40 approaches collecting with that same archive-first logic: a specimen is easier to trust when its identity, imagery, and history stay organized together.
The standard is not perfection
Even experienced collectors occasionally buy a specimen that turns out to be repaired, misattributed, or simply less certain than expected. The goal is not perfect detection every time. The goal is to reduce avoidable errors by using better criteria.
If you remember one principle, make it this: authentic specimens tend to be internally consistent. Their crystal form, surface character, matrix, locality, condition, and documentation support one another. When those elements conflict, pause before you buy. A careful collector does not just ask whether a mineral is real. They ask whether the whole story attached to that specimen holds together.