Mineral Macrophotography - A Collector's Guide
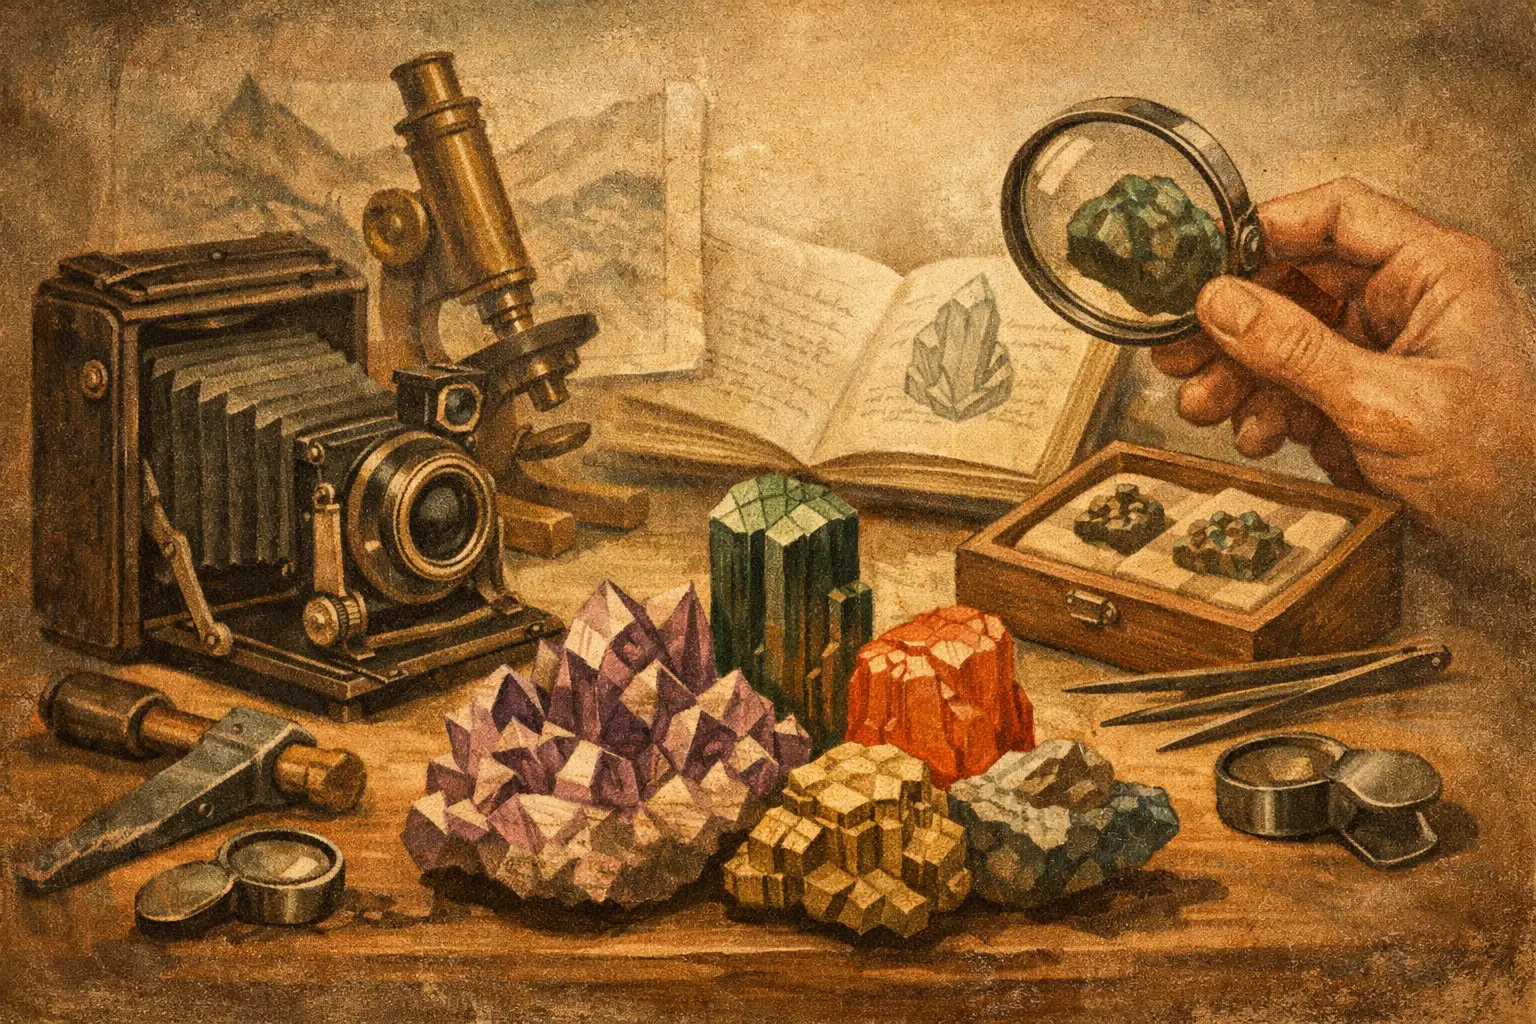
Mineral macrophotography - a guide for collectors. How to set up lighting, focus, and background to faithfully show the habit, luster, and details of a specimen
Mineral macrophotography begins not with the camera, but with the question of exactly what is to be documented. Small, highly lustrous vanadinite crystals are photographed differently than a banded malachite structure, and differently again than calcite with subtle growth zones. For a collector, a good macro photo is not just a catalog decoration. It is a tool for describing the specimen, assessing quality, and faithfully presenting the features that determine its documentary value.
Mineral Macrophotography - A Documentation Perspective
In the photography of mineralogical specimens, the biggest mistake is treating all samples the same. A mineral is not a neutral studio object. It has its own geometry, reflections, transparency, surface relief, and relationship with the matrix. Therefore, before you set up the tripod, define the purpose of the photo. Do you want to show the crystal habit, an aggregate, the contrast between the mineral and the host rock, or perhaps a diagnostic feature such as banding, cleavage, or growth patterns?
This distinction organizes the entire process. If the goal is a collection catalog, repeatability of framing, scale, and color will be most important. If you are preparing sales or comparative documentation, priority is given to consistency with the actual appearance of the specimen. On the other hand, a strictly aesthetic photo can allow for stronger light modeling, but it still should not falsify the color or surface topography.
Equipment That Actually Matters
You don't need to start with the most elaborate setup, but in mineral macrophotography, there are elements that are hard to avoid. Stability is paramount. A tripod, remote shutter release, and a steady workstation provide a greater improvement in quality than simply upgrading the camera body.
A macro lens is usually the best choice because it provides good sharpness at close distances and predictable detail reproduction. In practice, the 60-100 mm range works best for most collector specimens. Shorter focal lengths can be convenient for larger samples, but they are more prone to unwanted perspective distortion and make lighting setup more difficult. Longer focal lengths provide more working space, which helps with shiny or transparent minerals.
If you are photographing very small crystals, a macro lens alone may not be enough. This is where extension tubes, bellows, or microscope solutions come into play. However, remember that the higher the magnification scale, the faster the depth of field drops. This means more work during focusing and often the necessity of stacking.
Light Decides Everything
This is the area where most photos are won or lost. Minerals very rarely look good in direct, hard light. A strong point flash kills subtle relief, blows out reflections, and flattens the structure. This is especially true for pyrite, galena, fluorite with smooth faces, and specimens with a distinct vitreous luster.
It is safest to start with diffused light. A small light tent, a matte plastic diffuser, or even a simple screen made of translucent material allows you to soften reflections. However, the goal is not to remove reflections entirely. In the case of minerals, luster is information. It needs to be controlled, not eliminated.
A setup with one main light at an angle and a weaker fill light from the opposite side yields good results. Such a scheme brings out the geometry of the crystal without stripping it of its volume. For transparent or translucent minerals, it is also worth testing backlighting or bottom lighting, but do so carefully. It is easy to obtain an attractive image that is not very faithful to how the specimen actually looks in a collection.
Color temperature should be constant. Mixing daylight with various LED sources almost always complicates color reproduction. If you document a collection systematically, set one repeatable scheme and stick to it for most specimens.
Background, Scale, and Specimen Preparation
The background should support the identification of the form, not compete with the specimen. For most minerals, neutral gray, black, or warm white works best, but the choice depends on the brightness of the sample and the nature of its surface. A black background separates light crystals well but can make it difficult to judge the boundaries of dark matrices. White emphasizes transparency and color but can be too aggressive with strong reflections.
Before the photo, the specimen must be prepared like a museum object. Dust, fibers, and fingerprints grow to the rank of the main subject in macro. A soft brush, a photographic air blower, and careful surface inspection under side lighting save a lot of retouching later. For delicate or fragile specimens, it is better to accept individual particles than to risk damage.
If the photo is to serve a documentary function, it is worth maintaining a reference scale, although it does not always have to be visible in the frame itself. You can work with a uniform magnification standard or simultaneously create a general shot and a detail shot. Such a duo is much more useful for a collector than a single impressive close-up without context.
Focus and Stacking in Practice
The most difficult stage is usually focusing. Even when stopping down the aperture, only a small part of the surface remains truly sharp, especially when crystals have multiple planes and significant depth. Stopping down the lens to extreme values does not solve the problem, as diffraction occurs and detail drops.
Therefore, focus stacking is a standard in mineral macrophotography, not a trick. It involves taking a series of photos with a shifting focal plane and then merging them into a single image. This requires a stationary camera and a stable specimen. Even minimal vibration or movement of small crystals can produce artifacts.
In practice, it is better to take more densely spaced shots than too few. Particularly difficult are acicular aggregates, drusy surfaces, and specimens with high luster, where the software may misinterpret boundaries. In such cases, manual correction is sometimes unavoidable. It is time-consuming, but this is where a photo begins to resemble collector documentation instead of a random macro shot.
Color Should Be Reliable, Not Flashy
In post-processing, it is easiest to ruin what was successfully captured. Minerals tempt with saturation, contrast, and local sharpening, but exaggeration quickly leads to an image that looks great on screen but poorly describes the actual specimen. For a collector, this is a bad compromise.
The foundation is correct white balance and careful exposure control. It is important to watch the highlights, as blown-out crystal faces lose their structure permanently. Shadows can usually be gently recovered, but not at the cost of artificially boosting local contrast. Metallic and vitreously lustrous minerals, in particular, do not handle aggressive clarity sliders well.
A good test of processing quality is a simple question: would a person holding the specimen in their hand under neutral lighting consider the photo consistent with reality? If not, the image may be attractive, but it ceases to be a reliable representation.
Mineral Macrophotography - A Guide for Different Specimen Types
There is no single setting that is good for all minerals, as different classes and varieties react to light completely differently. Fluorite with smooth faces requires precise reflection control and usually benefits from soft light and distinct side modeling light. Pyrite needs a lighting angle that shows the metallic luster but does not turn the crystal faces into white spots.
Quartz can be more forgiving, but its transparency and internal fractures can easily lead to a chaotic image. In such cases, it is worth simplifying the background and limiting the number of active light sources. Malachite, azurite, or calcite with rich textures often gain from side lighting with slightly higher contrast, as the structure becomes more legible. Conversely, small drusy surfaces or acicular clusters require very patient stacking and careful cleaning before the session.
This is why professional photographic documentation of a collection does not rely on a single preset. It relies on the ability to adapt the method to the morphology, luster, color, and scale of a specific specimen.
When a Photo is Good from a Collector's Point of View
A good macro photo of a mineral answers three questions. First, does it faithfully show the specimen? Second, does it reveal features essential for identification and quality assessment? Third, does it remain consistent with the rest of the collection's documentation? If one specimen is photographed dramatically, the second flatly, and the third with a different white balance, the catalog begins to lose its comparative value.
This is where an archival approach, close to the practice of Cabinet No. 40, comes in handy. Instead of treating a photo as a single visual effect, it is worth thinking of it as part of a description system. A general shot, a macro detail, a consistent background, repeatable lighting, and consistent file naming create documentation that works for the collection for years.
The best advice at the end is simple: photograph the same specimen several times using different light schemes and compare the results not for the effect, but for the information. A mineral always shows more when you stop just lighting it and start truly reading it.