Mineral Microscopy for Collectors
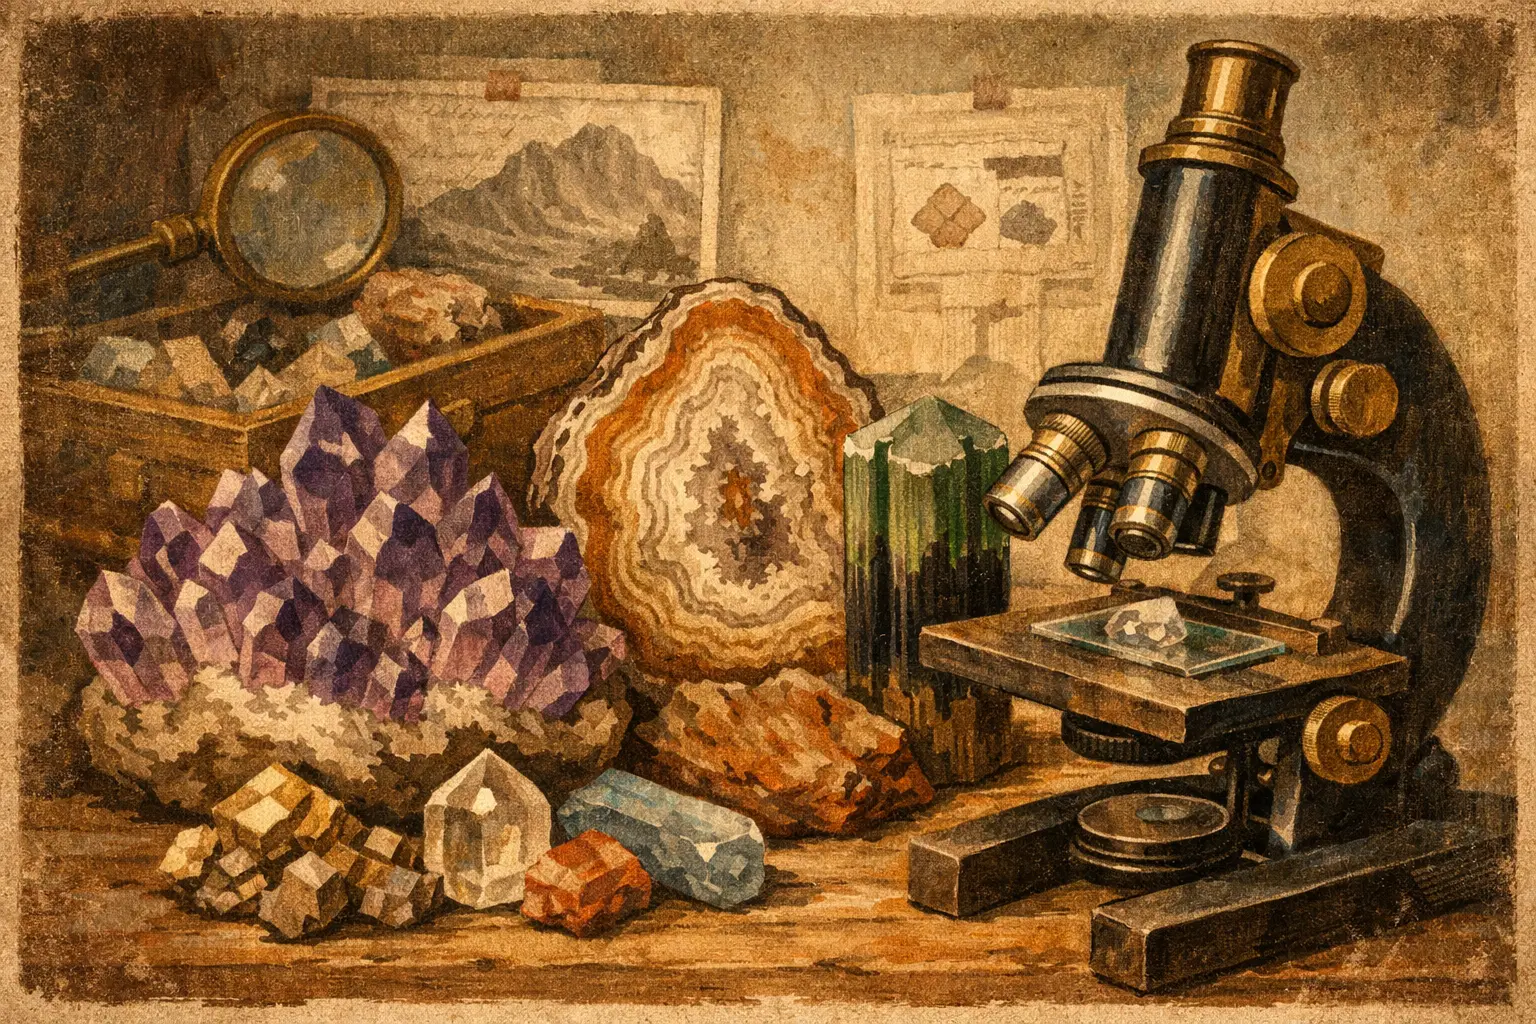
Mineral microscopy for collectors helps evaluate habit, condition, and specimen authenticity. Check out equipment, lighting, and practical methods.
Not every specimen reveals its value from a distance of several dozen centimeters. In mineralogical collecting, details visible only at high magnification often make the difference: the quality of crystal face development, micro-damage, color zoning, secondary coatings, or the relationships between associated minerals. This is why mineral microscopy for collectors is not an add-on for the most advanced, but a practical tool for evaluation, documentation, and presentation.
A well-used microscope does not replace macro inspection. It complements it where a catalog photo or naked-eye observation ceases to be sufficient. This is particularly important for cabinet specimens with fine crystallization, secondary aggregates, pseudomorphs, and specimens whose value is based on subtle surface quality rather than size alone.
How a Collector Uses a Microscope
The most obvious application is the identification of morphological features. Under magnification, it is easier to distinguish natural crystal surfaces from fractures, observe the degree of luster, the presence of tiny nicks, and the character of secondary overgrowths. This information is crucial not only during purchase but also for subsequent collection cataloging.
The second application is for documentation. Many specimens look similar in standard photography, whereas photomicrography shows their individual signature - crystal arrangement, contact with the matrix, tiny inclusions, and local discolorations. In a collection organized by locality, species, and variety, such images become real support for museum descriptions, labels, and digital archives.
There is also a third area, often underestimated: condition assessment. In the collector trade, the difference between a very good specimen and an outstanding one can be slight at first glance, but under a microscope, it becomes unequivocal. Micro-chipping of edges, cleaning marks, glue residues from repairs, or surface heterogeneity after preparation are primary information for a collector.
Mineral Microscopy for Collectors - What Equipment Makes Sense
In collecting practice, a stereomicroscope works best. It provides a three-dimensional image, a comfortable working distance, and allows viewing the specimen without complicated preparation. This is important because the collector works with a three-dimensional, often irregular object that needs to be rotated and viewed under different light angles.
Magnification ranging from 10x to 40x is sufficient for most applications. For a large portion of cabinet specimens, 10x or 20x already reveals the most important aspects: crystal face quality, micro-cracks, degree of transparency, fine coatings, and textural relationships. Higher magnifications can be useful but usually come at the cost of field of view and working comfort.
A digital microscope can be a good solution for quick documentation, but it has limitations. It often offers a less natural spatial image, poorer focus control, and magnification parameters that are more marketing-driven than real. If the priority is a reliable assessment of the specimen, a stereomicroscope with good lighting is a safer choice. If the priority is image publication and archiving, a digital system with decent optics may be sufficient.
It is worth paying attention not to the maximum magnification, but to three elements: optical quality, stand stability, and the ease of manipulating the specimen under the lens. A collector will sooner appreciate a solid stage and predictable light than an impressive magnification number on the box.
Light is More Important Than Magnification Itself
In mineral observation, lighting often determines whether we see a truly significant feature. Light falling at a low angle emphasizes relief and micro-damage. Diffused light better shows color and transparency. Changing the direction of light can reveal growth zoning, vitreous or satiny luster, and the boundaries between growth generations.
Therefore, the most practical setup consists of two independent light sources with adjustable intensity. This provides more control than a single LED ring, which may be convenient but often flattens the image. For premium documentation, combining side lighting with gentle frontal illumination works well.
How to Observe a Specimen Without Missing Essentials
Working with a microscope makes sense when it is methodical. First, it is worth viewing the entire specimen at low magnification without forcing the search for details. The goal is orientation: where the representative parts are, where potential damage occurs, and which areas are attractive for documentation.
Only then do you move to targeted observation. In the case of fluorite, you can focus on edge quality and potential surface etching. With quartz, the presence of micro-scratches, secondary overgrowths, and inclusions will be important. For vanadinite or malachite, minor damage to crystal tips and luster uniformity may be significant. Pyrite, on the other hand, quickly reveals the difference between sharp crystal geometry and a dulled or etched surface under the microscope.
It is good practice to view every significant fragment under several light settings. This takes a few minutes longer but reduces the risk of misinterpretation. Some features disappear under frontal lighting and appear immediately with side lighting.
What is Truly Worth Documenting
Not every photomicrograph has collector value. The most useful images are those that support identification, condition assessment, or morphological description. It is better to save three shots showing the actual features of the specimen than a dozen random close-ups without context.
In practice, it is worth capturing a characteristic fragment of the main mineral, the contact between minerals in paragenesis, an area with potential damage, and a detail that justifies the specimen's attractiveness. Such a set works for both a private archive and for later exchange, sale, or publication of the collection.
Mineral Microscopy for Collectors and Identification
Caution is needed here. A microscope helps immensely, but it does not solve every identification problem on its own. Many minerals have similar luster, habit, or secondary coatings. Under magnification, you can narrow down the identification, but full identification still depends on locality context, mineral association, hardness, chemical reactions, and comparative data.
This is not a flaw of the method, but rather its scope. Microscopy works best as part of a broader documentation system. For a collector, this means a simple rule: the microscopic image should support the label, not replace it. When a specimen has good provenance and a correct description, microscopy increases the credibility of the entire object record.
Common Mistakes of Beginner Collectors
The first mistake is chasing too much magnification. The result is usually that we see less, not more - the field of view becomes small, depth of field shallow, and orientation in the specimen's topography is lost. The second problem is light that is too strong and uniform, which robs the surface of clarity. The third is photographing without a scale and without recording which part of the specimen is being shown.
There is also a more subtle mistake: judging a specimen solely through the lens of the microscope. Micro-defects almost always exist, and not every one of them has collector significance. The value of a specimen is determined by the relationship between detail quality, overall presentation, rarity, locality, and aesthetics. A microscope sharpens criteria, but it should not lead to an overly laboratory-like rejection of every specimen with a minimal flaw.
When Microscopy Provides the Greatest Advantage
Collectors who build a collection consciously and documentarily gain the most from it. If you organize specimens by locality, species, morphology, or preservation quality, microscopy quickly becomes an everyday tool. It helps determine which specimen deserves main display, which requires further study, and which needs a description correction.
It is also particularly valuable when purchasing based on photos. When a seller provides sensible microscopic images, the collector gets a much fuller picture than with a standard frontal shot. In this sense, high-quality visual documentation is not a decoration but an element of transparency. This approach is close to the practice of collector brands like Cabinet No. 40, where the image serves a function equal to the description and provenance.
A microscope does not have to become the centerpiece of the workshop to realistically raise the level of a collection. It is enough that it is used consistently - to evaluate detail, to record object features, and to calmly check what the naked eye does not show. In quality-based collecting, it is precisely these tools that most often make the difference.